Iced Basics Tutorial 0.12
Rust has been my favorite programming language for about over a year now. It enables me to create performant software, unlike languages I've used in the past. Because of its strengths I, like many others, have been itching to build GUI applications with it. Electron is notorious for its high memory usage, so a lightweight, cross-platform GUI library is in high demand, and Rust would be a great language to fill this role. However, as of writing, there are only a small set of Rust GUI libraries out there and an even smaller subset of GUI libraries that are good enough to use reliably.
But in the past few years, the contributors for Iced have made strong improvements to its library, making it a viable option if you wish to make GUI applications. It still hasn’t reached version 1.0, but it still allows you to build powerful applications with the right knowledge.
In this tutorial, I will show you how to build a basic application in Iced. We'll dive into how their widgets work, how to update the state within your application, and what the overall structure you must build your code around.
Before We Get Started
The only prerequisite for this tutorial is being comfortable in writing with Rust. If you are still new to Rust, the Official Rust Book is a great place to start.
The goal of this tutorial is to create a simple grocery list application. We want to allow adding and deleting items in our grocery list. Because we're keeping this tutorial simple, we'll not store the items in our list in a file or a database, so every time we restart the app the items will be lost. So, unfortunately, you won't be able to use this app as a real grocery list. Maybe next time.
Sounds simple enough? Let's get started!
Elm Architecture
Before we write any code, we must first understand the structure that Iced is built around: the Elm Architecture. It's an architecture that is used by GUI libraries, first used for the Elm programming language. Its core principles are simple. It's built around three concepts: model, view, and update.
- Model, the state of your application. This is all the data that will be updated based on user interactions and such. It will be used to determine how we want the UI to be rendered. Throughout the tutorial, we'll call this the model or the state of the application.
- View, a function that displays the UI.
- Update, a function where the state can be updated. Only in this function can the state of your application be updated.
Note
If you know a few design patterns, The Elm architecture might seem familiar to you. You aren't alone! The Elm architecture reminds me of the MVC architecture. I think they are very similar. So, if you are accustomed Ruby on Rails or web development, this might seem similar.
Creating a new Iced Application
First, we're going to start a new project with cargo.
cargo new grocery-list-app
Now, navigate to the cargo.toml file within the newly created folder and add Iced as a dependency.
[package]name = "Grocery-List-Application"version = "0.1.0"edition = "2024"
[dependencies]iced = {version = "0.12.1"}
Now, in the src folder of your application, we'll add these imports to your main.rs file. We'll explain what they do later.
use iced::{Element, Sandbox, Settings};use iced::widget::text;
And now, we'll create the most basic app. First, we must create the main struct of our application. We'll call this "GroceryList". For now, we'll make this empty.
struct GroceryList {}
We're also going to create an enum which will also be empty. This will be used to instruct our app on how to update our state. We'll learn more about this later, but for now, let's create an enum called: "Message"
#[derive(Debug, Clone)]enum Message {}
Now we'll implement the Sandbox trait. This is an important trait to our struct GroceryList. This is where the magic happens. We'll also define our Message as the enum to handle updates to the application. We write this as type Message = Message.
impl Sandbox for GroceryList { type Message = Message; /* Initialize your app */ fn new() -> GroceryList { Self {} } /** * The title of the window. It will show up on the top of your application window. */ fn title(&self) -> String { String::from("Grocery List App") } fn update(&mut self, message: Self::Message) { // Update the state of your app } fn view(&self) -> Element<Self::Message> { text("This is where you will show the view of your app") .into() }}
And finally, we're going to add our GroceryList struct to the main function and run it.
fn main() -> iced::Result { GroceryList::run(Settings::default())}
We just wrote a good deal of code, so let's go through all of it.
To get our application started we're implementing a trait called "Sandbox" to GroceryList. As I stated previously, the Sandbox trait is important to get our application running. It allows us to use our GroceryList struct as state to start our application.
But why is it called "Sandbox"? The Sandbox trait is a simplified version of another trait called "Application". Sandbox is mainly used to make demos or simple applications, thus the name "Sandbox".
The Application trait allows for more complex and customizable applications. For instance, if you want to create a new theme for your application or add custom subscriptions like requests from an HTTP client. All of this is out of the scope of this tutorial, so naturally, we'll not be covering the Application trait.
Now let's talk about the methods with Sandbox. The new method is used to initialize our GroceryList. Since we do not have any state for this application, this struct is empty (For now).
The method title should return a string of our choice. This string will be used as the title of our window. For my operating system, the title shows on the top of the window. You can change this string to be anything you want to show as the title, it has little importance to our app.
The update method is very important to our application. If you recall my explanation of the Elm architecture, the update method is used to update the state of our application. All changes to the data our application uses must go through the update method. For now, we'll leave it blank.
Finally, the view method. This is where we'll show the UI of our application. Here, we're using a widget that was imported earlier "text". It will display the string passed into it. We run the method into to convert our widget to an Iced Element.
Running our App
To run our application, we'll run it like any other Rust project. In the root of your folder, run the following:
cargo run --release
You should see something similar to this:
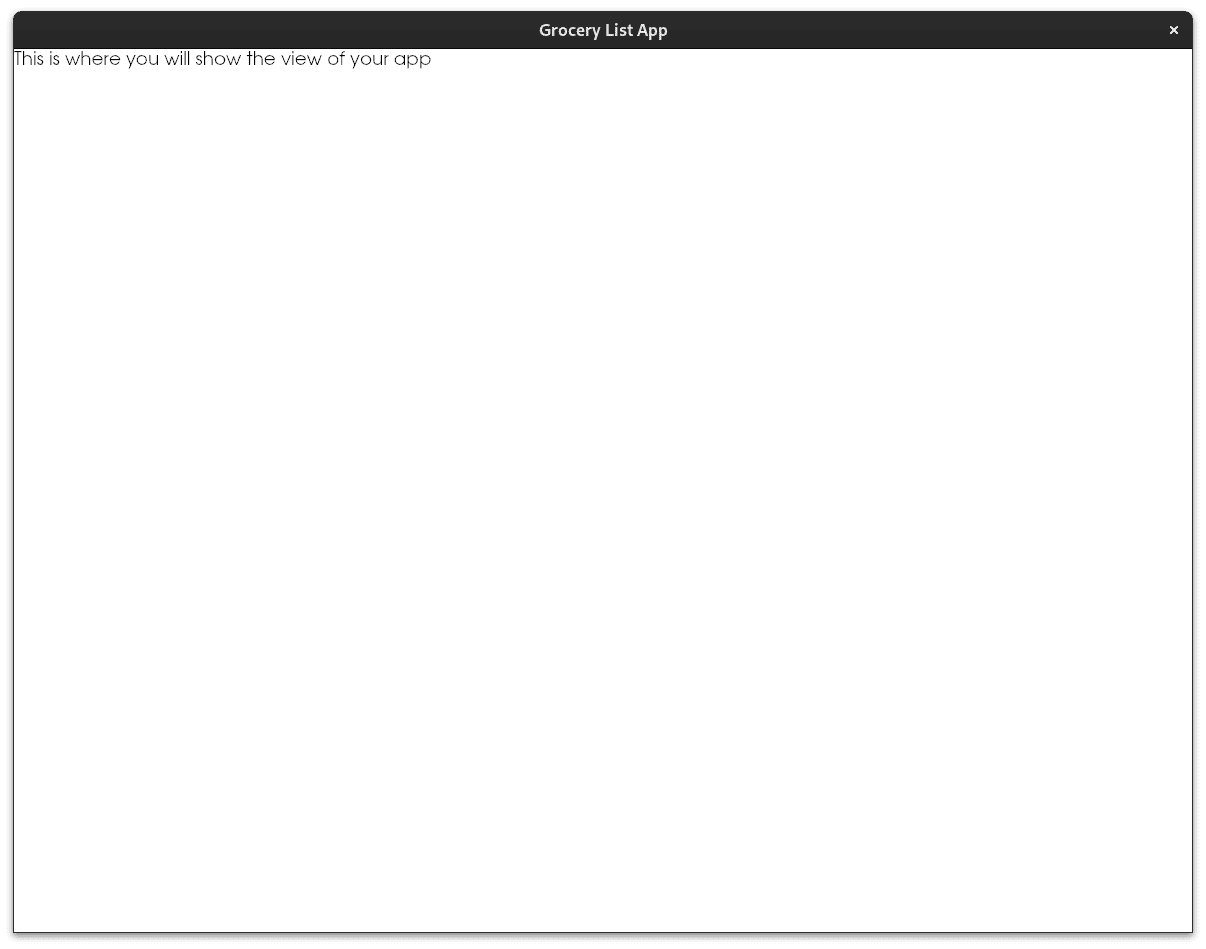
Awesome! The app is running nicely.
Note
When running the app, we'll always run with the --release flag to run the app in production mode, rather than the default development mode. Normally with software in Rust, you would run the app in development mode for testing. The compile times are faster, although the performance is not as good. While this is still true for Iced applications, running apps in development mode is significantly slower and becomes laggy when you're not running the app in production mode. So if your app is ever lagging, make sure you are running the app with the --release flag.
Hello World
We're displaying text, but it looks very simple (and frankly ugly). Let's make our UI a little more appealing.
First, let's update our imports. We're going to add a new widget.
use iced::{alignment, Element, Length, Sandbox, Settings};use iced::widget::{container, text};
Next, let's change our view method.
fn view(&self) -> Element<Self::Message> { container( text("Hello World") ) .height(Length::Fill) .width(Length::Fill) .align_x(alignment::Horizontal::Center) .align_y(alignment::Vertical::Center) .into()}
Let's break down what we just added. In our view method, we added a new widget, container, and placed our text widget inside of it. The container widget is similar to the div in html. Its purpose is to store other elements, in our case, widgets. Unlike div in HTML, containers can only store one element. We'll use this widget to center our text in our app.
We also are chaining four methods that are styling our container. The width and height change the size of our container. We pass the property Length::Fill to set the container to be as large as it can fit. Next, we set align_x and align_y to tell our container where the widgets inside of it should fit. We're specifying that the element should be centered.
Finally, I'll change the default theme of our app. I'll change the theme by adding a new method within our GroceryList struct. This is optional, but I prefer the look of dark mode for Iced.
impl Sandbox for GroceryList { // Other methods... fn theme(&self) -> iced::Theme { iced::Theme::Dark }}
Note
There seem to be several new themes in Iced 0.12. Since it won't change the functionality of the app you can set the theme to whatever you like! For instance, you can replace iced::Theme::Dark with iced::Theme::Dracula.
If you run the application again it will look similar to this (on dark mode).
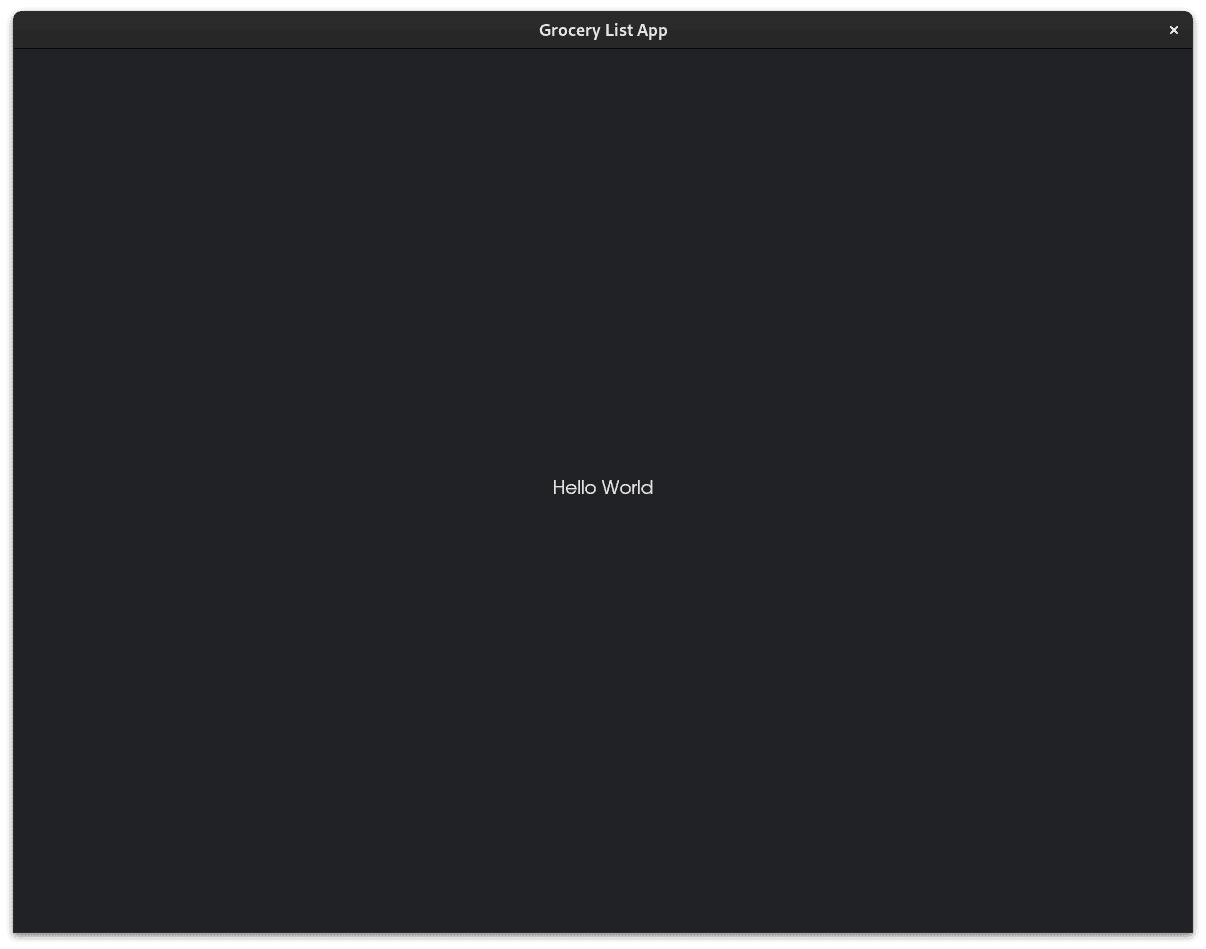
That looks better! The text is centered in the window, and the dark mode is less straining on my eyes.
Displaying Grocery Items
Right now our application is very basic. I explained state earlier in this tutorial, but currently, this app has no state. We're about to change this. We're going to be making two modifications to the current app.
- Add state to our app.
- We're going to use an external function to group a bunch of widgets together. This is good for keeping our app modular.
Before we do anything, let's change our imports:
use iced::{alignment, Element, Length, Sandbox, Settings};use iced::widget::{container, text, Column, column};
Let's also change the definition of our GroceryList struct. We're going to add a vector of strings to represent the items in a grocery list. This will be our state.
struct GroceryList { grocery_items: Vec<String>}
For this to work, we'll also change the method new so that the struct is properly initialized.
impl Sandbox for GroceryList { fn new() -> GroceryList { Self { grocery_items: vec![ "Eggs".to_owned(), "Milk".to_owned(), "Flour".to_owned() ] } } // ... Other methods}
Next, we'll create a new function. One that will display a list of grocery items. Honestly, It is not necessary to create a new function for this feature. We could just pass our widgets into our view method. But it's good practice to make our code modular.
impl Sandbox for GroceryList {	// ...}
fn items_list_view(items: &Vec<String>) -> Element<'static, Message> {	let mut column = Column::new()	.spacing(20)	.align_items(iced::Alignment::Center)	.width(Length::Fill);		for value in items {		column = column.push(text(value));	}  		container(		column	)	.height(250.0)	.width(300)	.into()}
Last, we'll use our function in our view method.
fn view(&self) -> Element<Self::Message> { container( items_list_view(&self.grocery_items), ) .height(Length::Fill) .width(Length::Fill) .align_x(alignment::Horizontal::Center) .align_y(alignment::Vertical::Center) .into()}
There's a lot to unpack here. So let's break it all down.
First, we added state to our application. All state must be added as a field in our GroceryList struct. In another section, we'll update our state.
Second, we added a new widget, column. We use this widget in the item_list_view function. We're initializing it differently than text or container because by default we want it to be empty. But make no mistake, it is a widget just like the others!
A column is similar to a container but unlike container it can contain multiple widgets and displays those widgets vertically. We pass the method spacing so that each item has some spacing between them.
We're looping through the items passed in our function and adding them to our column. This is the best method I've found to add our grocery items into our column.
At the end of our function, we pass our column into a container with a fixed height and width.
We use the items_list_view function in our view method.
Note
If the way container and column work reminds you of HTML and CSS, this is probably no coincidence. column works a lot like a flexbox with the direction "column". Setting an element's size to Length::Fill is very similar to the value "100%" in CSS. Elements even have padding and borders just like CSS.
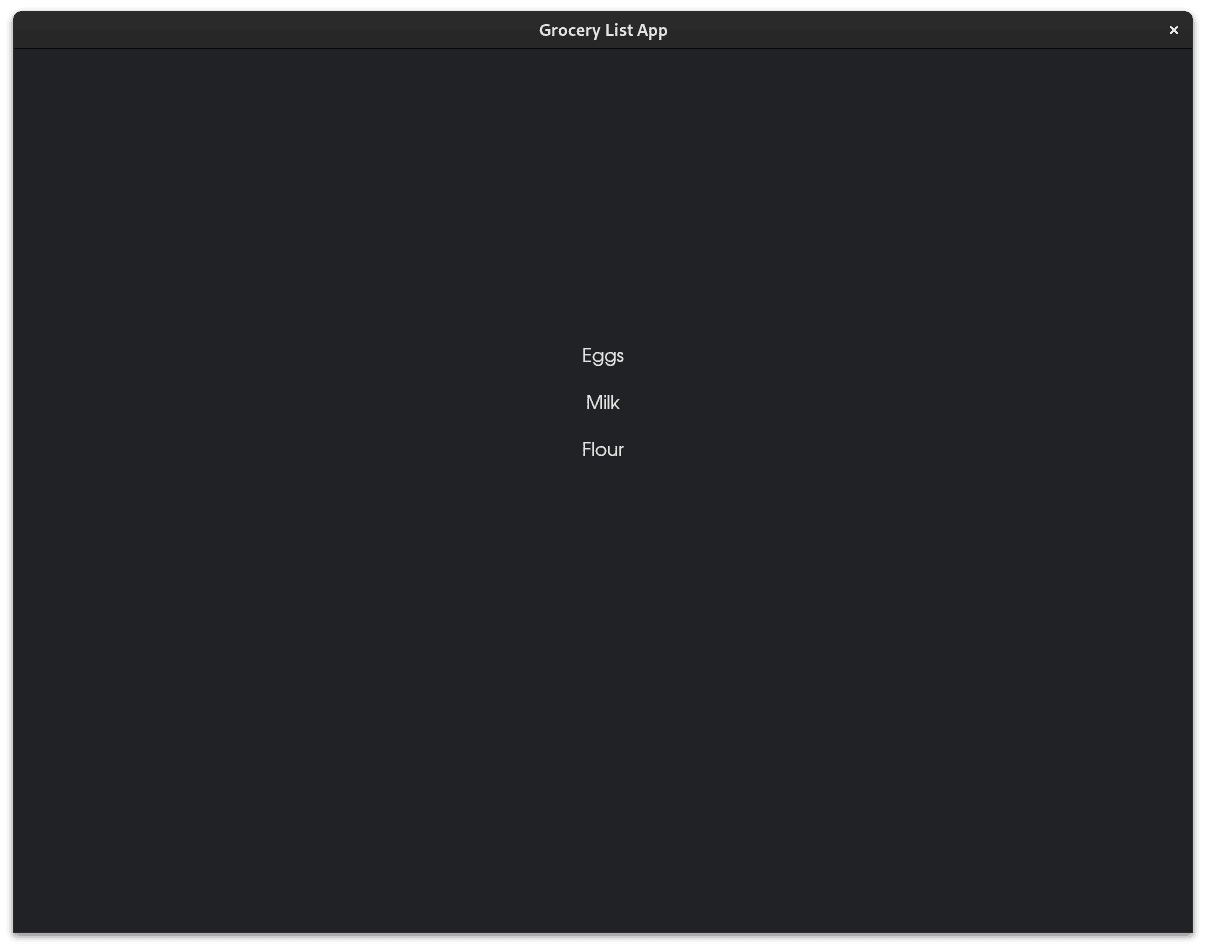
If you run this app, it will look similar to this:
Adding User Inputs
Let's give a way for a user to finally interact with our application. We're going to add two ways of user input, button and a text_input.
First, let's update our imports again.
use iced::{alignment, Element, Length, Padding, Sandbox, Settings};use iced::widget::{button, column, container, row, text, text_input, Column};
Now we're going to, once again, update our view method.
fn view(&self) -> Element<Self::Message> { container( column!( items_list_view(&self.grocery_items), row!( text_input("Input grocery item", ""), button("Submit") ) .spacing(30) .padding(Padding::from(30)) ) .align_items(iced::Alignment::Center) ) .height(Length::Fill) .width(Length::Fill) .align_x(alignment::Horizontal::Center) .align_y(alignment::Vertical::Center) .into()}
You'll notice that we're using a new widget, row. It's almost identical to the column widget, however, instead of displaying items on top of each other, it displays them horizontally.
The way we initialize our row is different from the column we created previously. We're using a macro that the Iced library provides. It allows us to initialize a row similar to how the vec! micro initializes items in a vector. So we can specify each element that will go into our row without calling the push method. There's a similar macro that is provided for column, and we also call it in our view method.
We're also adding padding to our row. This will give our inputs some space around it.
If you run your code, you will see something similar to this.
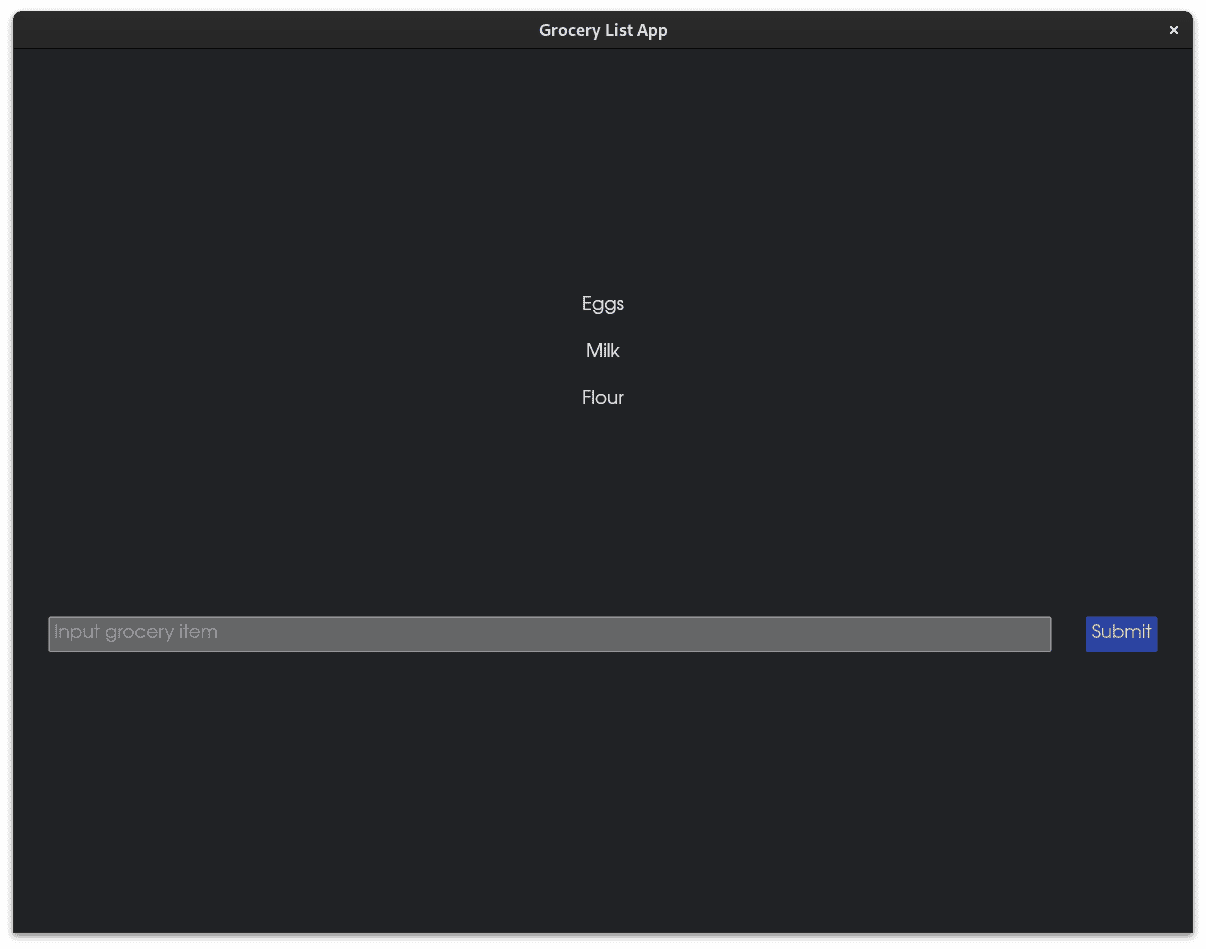
It looks good! But there's a problem. None of these inputs will do anything yet. You can't click on the text input or the button. That's pretty disappointing. This is because the widgets don't send messages yet.
Update
We covered two of the core aspects of the Elm Architecture, View and State. Now it's finally time to cover updates. Iced will only allow state updates through the update method.
At the beginning of the tutorial, we created an enum called Message. Message will be used to let us know how to update the state of our application. Every widget that can receive inputs (text inputs, buttons, etc...) sends messages. We can define the type of message we want to send. After a message is sent from the widget, we'll handle those messages in the update method.
Before we get to that, let's update our imports.
use iced::{alignment, widget::{button, column, container, row, scrollable, text, text_input, Column}, Element, Length, Padding, Sandbox, Settings};
Next, let's set up the messages we want to send and receive. We're going to change the Message enum.
#[derive(Debug, Clone)]enum Message { InputValue(String), Submitted,}
These messages are going to represent the inputs that we'll receive from the user. The input values of the text_input and the button will send the InputValue and Submitted messages, respectively.
We also have to make a small change to our state. Since we're going to be receiving values from our text_input, we must store these values somewhere. So we're going to add another field in our GroceryList struct.
struct GroceryList { grocery_items: Vec<String>, input_value: String}
And, like always, we'll also have to change the method initializing our GroceryList.
/* Initialize your app */ fn new() -> GroceryList { Self { grocery_items: vec![ "Eggs".to_owned(), "Milk".to_owned(), "Flour".to_owned() ], input_value: String::default() } }
Now, let's change our view method so that we can send these messages when the user interacts with our widgets.
fn view(&self) -> Element<Self::Message> {	container(		column!(			items_list_view(&self.grocery_items),			row!(				text_input("Input grocery item", &self.input_value)				.on_input(|value| Message::InputValue(value))				.on_submit(Message::Submitted),
				button("Submit")				.on_press(Message::Submitted)			)			.spacing(30)			.padding(Padding::from(30))		)		.align_items(iced::Alignment::Center)	)	.height(Length::Fill)	.width(Length::Fill)	.align_x(alignment::Horizontal::Center)	.align_y(alignment::Vertical::Center)	.into()}
Here we add methods that will create messages when the user interacts with the widgets. For the button, we have the method on_press that will send the Submitted message.
For our text input, we have two interactions. on_submit is called when the user hits the enter key. We'll send the same message as we send for clicking the button. We also have the on_input method. This method is triggered when the user types. We to pass a callback function that accepts a string inside and returns a Message. This message will store the string so that we can use the message to update our app.
We also have a subtly change to our input, instead of passing an empty string inside of it like before, we pass &self.input_value. We want the value of the text input to be updated as the user types, otherwise, the text_input would be stuck as an empty string.
Finally, after some preparation, we're ready to update the state of our app. In our untouched update method, we're going to handle the message passed into this method. This function will pass the messages received from the user inputs: button and text_input.
fn update(&mut self, message: Self::Message) { match message { Message::InputValue(value) => self.input_value = value, Message::Submitted => { self.grocery_items.push(self.input_value.clone()); self.input_value = String::default(); // Clear the input value }}
We're handing the two messages we created.
- Whenever a user adds text into the
text_inputwe store it as state in the field we created. - Whenever a user submits the text, we want to push that string into our
grocery_items. We also want to clear the previous values that the user inputted so that thetext_inputwidget can be empty.
Before we run our project, we need to add one small change to our UI. In the items_list_view function we created earlier.
fn items_list_view(items: &Vec<String>) -> Element<'static, Message> {
    let mut column = Column::new()    .spacing(20)    .align_items(iced::Alignment::Center)    .width(Length::Fill);
    for value in items {        column = column.push(text(value));    }
    scrollable(        container(            column        )    )    .height(250.0)    .width(300)    .into()}
We just needed to add a scrollable widget to display the items in our grocery list. This widget will give the user the option to scroll whenever the contents of the scrollable widget is larger than the widget itself. Now, if the user adds a large amount of grocery list items, the user can scroll to the ones that are not visible.
If you run it now, It should look almost the same as the last time we ran the app, but this time we can actually interact with it.
Note
I must confess. I haven't been completely honest. I've claimed, multiple times, that the only safe way to update the state of our app is within the update method. This is because of the nature of variable mutation Rust. You cannot mutate a variable unless it has been specified as mut. The only time that we have a mutable reference of our GroceryList struct is in the update method.
But there is a hack. You can use the standard library's mutable container such as, Cell, RefCell, and OnceCell to modify the values without needing a mutable reference. Since this would be considered a hack, I would only advise doing this as a last-ditch effort to get something working.
Another option is to use a raw mutable pointer, but that would requiere unsafe Rust.
Deleting items
We've learned how to create a grocery item, and now we're completing this tutorial by showing how to delete items. Just like with adding items to the grocery list, we need a message to be able to delete them.
#[derive(Debug, Clone)]enum Message { InputValue(String), Submitted, DeleteItem(usize),}
We've added a new item in our Message. The DeleteItem variant will be passed a number that represents the index of the item of our grocery_items that we want to remove.
Let's add this change to our update method.
fn update(&mut self, message: Self::Message) { match message { Message::InputValue(value) => self.input_value = value, Message::Submited => { let input_value = self.input_value.clone(); self.input_value = String::default(); // Clear the input value self.grocery_items.push(input_value); } Message::DeleteItem(item) => { self.grocery_items.remove(item); }, }}
This change is simple. We'll just remove the specified item from our vector.
Now let's finish this app by changing our UI. Each grocery list item will have a button next to it. This button will allow our users to delete the grocery item. Let's create a new function called "grocery_item".
fn grocery_item(index: usize, value: &str) -> Element<'static, Message> { row!( text(value), button("Delete") .on_press(Message::DeleteItem(index)) ) .align_items(iced::Alignment::Center) .spacing(30) .into()}
Now that we've added this, our previous function: items_list_view, must be changed as well. We'll pass the index of each grocery item in our grocery_item and a string slice.
fn items_list_view(items: &Vec<String>) -> Element<'static, Message> {
    let mut column = Column::new()    .spacing(20)    .align_items(iced::Alignment::Center)    .width(Length::Fill);
    for (index, value) in items.into_iter().enumerate() {        column = column.push(grocery_item(index, value));    }
    scrollable(        container(            column        )    )    .height(250.0)    .width(300)    .into()}
We should have everything we need to delete grocery items in our app.
If you now run this, you should see something like this.
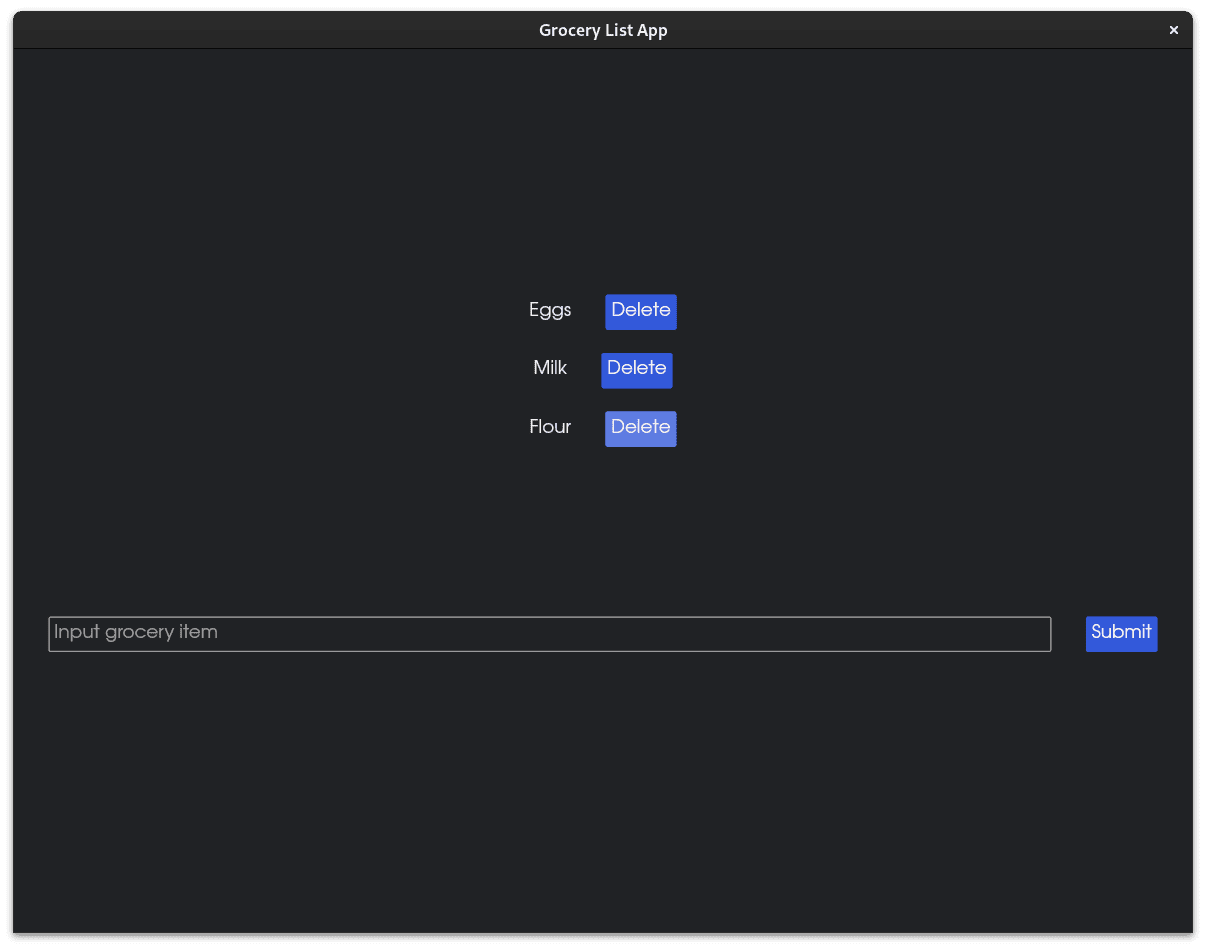
And with this last change, we're done!
This is how my codebase looks after all the combined changes:
use iced::{alignment, widget::{button, column, container, row, scrollable, text, text_input, Column}, Element, Length, Padding, Sandbox, Settings};

#[derive(Debug, Clone)]enum Message {    InputValue(String),    Submitted,    DeleteItem(usize),} /** * This is your model. It contains all the data needed for your application to work properly.  * The model can only be updated with the `update` function. */struct GroceryList {    grocery_items: Vec<String>,    input_value: String,    }
impl Sandbox for GroceryList {    type Message = Message;
    /* Initialize your app */    fn new() -> GroceryList {        Self {            grocery_items: vec![                "Eggs".to_owned(),                 "Milk".to_owned(),                 "Flour".to_owned()            ],            input_value: String::default()        }    }
    /**     * The title of the window. It will show up on the top of your application window.     */    fn title(&self) -> String {        String::from("Grocery List App")    }
    fn update(&mut self, message: Self::Message) {        match message {            Message::InputValue(value) => self.input_value = value,            Message::Submitted => {                let input_value = self.input_value.clone();                self.input_value = String::default(); // Clear the input value                self.grocery_items.push(input_value);            }            Message::DeleteItem(item) => {                self.grocery_items.remove(item);            },                }    }
    fn view(&self) -> Element<Self::Message> {        container(            column!(                items_list_view(&self.grocery_items),                row!(                    text_input("Input grocery item", &self.input_value)                    .on_input(|value| Message::InputValue(value))                    .on_submit(Message::Submitted),
                    button("Submit")                    .on_press(Message::Submitted)                )                .spacing(30)                .padding(Padding::from(30))            )            .align_items(iced::Alignment::Center)        )        .height(Length::Fill)        .width(Length::Fill)        .align_x(alignment::Horizontal::Center)        .align_y(alignment::Vertical::Center)        .into()    }
    fn theme(&self) -> iced::Theme {        iced::Theme::Dark    }
}
fn items_list_view(items: &Vec<String>) -> Element<'static, Message> {
    let mut column = Column::new()    .spacing(20)    .align_items(iced::Alignment::Center)    .width(Length::Fill);
    for (index, value) in items.into_iter().enumerate() {        column = column.push(grocery_item(index, value));    }
    scrollable(        container(            column        )    )    .height(250.0)    .width(300)    .into()}

fn grocery_item(index: usize, value: &str) -> Element<'static, Message> {    row!(        text(value),        button("Delete")        .on_press(Message::DeleteItem(index))    )    .align_items(iced::Alignment::Center)    .spacing(30)    .into()}

pub fn main() -> iced::Result {    GroceryList::run(Settings::default())}
Final notes
From this tutorial, you will armed and ready to create some basic apps with the iced library. But some more complex topics in Iced weren't covered in this tutorial and might be a roadblock in your journey.
- Custom styling. If you want to have custom buttons, change the background color of your containers, and change the borders or the shadows of your widgets, it's more complex. Even more so, if you want to create a custom theme.
- Custom Subscriptions. Right now we generate messages from user inputs. But what about other inputs? Maybe you want messages once a certain amount of time has passed. Or when an HTTP or WebSocket response has been received. That's called Subscriptions. It will take a bit of effort to fully understand how this works.
- Is there a widget that you are missing? Is it a functionality that you need for your app but the library doesn't provide? You can use a custom widget. Although it's a more advanced feature of Iced, it's one of the most useful features.
- Is your app lagging? Do you not understand how to improve the performance of your renders and messages? There are some obvious, and some subtly ways to improve the performance of your app. As of writing, there isn't much documentation on these topics.
I'm considering going into more deep dives on these concepts, so let me know on my social media accounts if you want more tutorials on Iced. If you need to learn any of these concepts now I would recommend you look at the Iced examples for reference. Have fun!